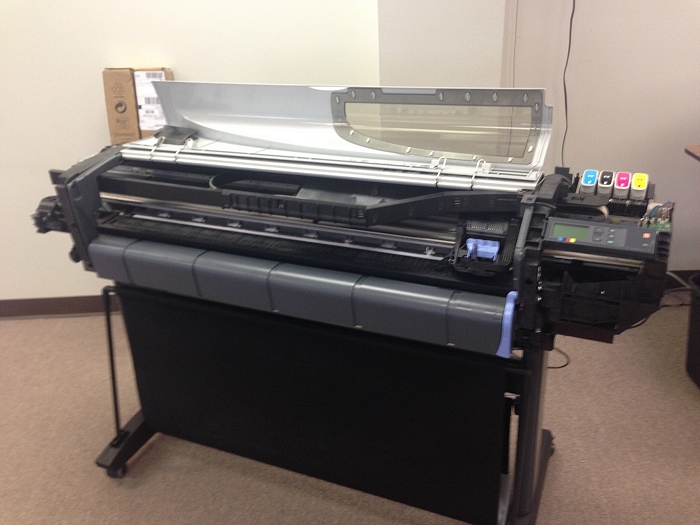
DesignJet 500 / 510 / 800 HP Plotter, System Error 2:10
According to documentation and experience this error us usually caused by a malfunction in the carriage assembly.
HP describes it as:
Carriage failure. The possible cause could be:
1. The Carriage PCA is not compatible with the rest of the Printer.
2. The Carriage ASIC has problems initializing.
3. The +2.5V reference voltage generated in the Carriage PCA is
out of range.
4. One of the Carriage ASIC’s cannot be found within the Serial
Bus that connects the Electronics Module to the Carriage.
5. One of the Carriage ASIC’s did not respond to the Serial Bus that
connects the Electronics Module to the Carriage Assembly.
Follow up:
In our case the System Error was being generated a bit differently than in most cases.
Our error was intermittent, the error only occurred when a new black print head was installed in the carriage assembly.
The Cyan, Magenta and Yellow print head replacement went without a problem, following the Print Head Replacement procedure in the menu of the front panel.
But when the Black print head was installed, the plotter would start the normal print head alignment routine and fail on a 2:10 error. If I could get the plotter to restart with the new black print head installed, all was fine until any print job, whether internally generated or sent from a computer the error would reappear. Remove the new black print head and reinstall the old one, plotter would run the alignment routine and come to a ready prompt.
Plotter would then print any job sent to it.
Following the troubleshooting and repair steps provided on this link:
http://www.computercarefiles.com/TWI_Docs/bpp90158/default.html
After attempting the replacement with another new black print head, and it failing the same way, I took the only logical step, replace the carriage assembly. The error is intermittent and only happens when a new black print head is installed so it stands to reason there is some type of failure or defect in the carriage that is causing the issue.
If the defect is in the trailing cable then the error would occur anytime you sent a job to the plotter, also it stands to reason the same would hold true for the electronics module.
Replacing the carriage assembly had no effect on the system error 2:10 or when it would occur. Only when we replaced the black print head.
Firmware is the newest release from HP and all other functions of the plotter are normal.
Under the usual occurance of a 2:10 system error, once the print heads have been ruled out, the steps are simple:
Carriage Assembly Replacement and test for the error.
If it returns then,
Inspect, reseat or replace the Trailing Cable. Test the plotter.
If the error returns.
Replace the Electronics Module.
As I stated earlier in the write up, the 2:10 system error being generated in this case was only when the black print head was replaced with a new one.
Usually the error is constant and occurs with any print head and can not be cured or changed by replacing or reseating the print heads.
If you have this system Error, or you are called out to repair this error, follow the steps in this document:
HP Designjet 500 and DesignJet 800 Series Printers - System Error 02:10
1.Visually check for carriage obstructions and remove as needed. Ensure the carriage can move before continuing.
2. Turn the printer off, then on and attempt to verify functionality.
3. If the problem persists, check the trailing cable connections (refer to pages 8-40 of the Service Manual).
4. Re-connect the trailing cable to the carriage and the electronics module and attempt to verify functionality. If the problem persists or no problems are found, continue with the remaining steps.
5. Replace the carriage assembly and the trailing cable (refer to pages 8-78 and 8-40 of the Service Manual).
6. Following replacement, turn the printer on and attempt to verify functionality (instructions below).
7. If the problem persists, replace the electronics module (refer to pages 8-24 of the Service Manual).
8. Following replacement, verify functionality as described below.Verifying printer functionality
1. Turn the printer on.
2. Allow initialization to complete.
3. Load media into the printer.
4. From the main front-panel menu, select the Ink menu and press Enter.
5. Select Troubleshooting and press Enter.
6. Follow the instructions on the front panel.
7. Following a successful troubleshooting plot, printer functionality has been verified.
It will guide you through the process and almost certainly cure the error. If you need the full service manual you can obtain one here: DesignJet 500 / 510 / 800 Service Manual
.
This is a work in progress and I will update this post as information becomes available.
Computer Care has been servicing Computers, Networks, Servers, Plotters and Printers in the Brazos Valley of Texas since January of 2001.
Like Computer Care on FaceBook
Follow us on Twitter
computer Care on Pinterest
computer Care on instagram
Visit the Computer Care Catalog Online for all your part needs.
Bookmark this article at
No feedback yet
Comments are closed for this post.